Top Secret Notes On…

free ideas and ways to do things… follow at your own risk

Plate Gouging Timelapse

Please be patient while these gifs load.

I’ll talk a little to keep you awake in the meantime. Joint Pain isn’t over – I just had to interrupt it to show everyone where I am on violin #2. Rib assembly is all done, plates have been cut out, cleaned up, and edge thicknessed. Now I am gouging to make that poofy roundy violin belly shape. I took several photos along the way and packaged them up into little timelapse animations:


violin maple plate gouging, rough arching of the lower boutA roughed out maple butt cheek lower bout.


violin maple plate gouging, rough arching of upper and c bout, with tommy selfie

Roughing out an upper and C bout. Tommy makes a cameo! haha. That’s what happens when you sneak a selfie into my timelapse!!!!


violin maple plate gouging, scan of roughed arch

I like to use my ruler this way to judge what I have done. It’s a good way to read the arch.

Bass bar + architectural rendering tutorial

Back to school! Thankfully, I found my bass bar more or less the way I left it nearly a month ago. It’s all done and glued in now. Definitely not perfect, but a decent first attempt, I think.

fitting a violin bass bar with tension

This little animation explains the ridiculous challenge of the bass bar. You aren’t fitting it to just plop down and sit perfectly (though some people do?), you have to put it under a little tension. This means gradually over-cutting or lifting the ends of the bass bar, but still making sure the entire bar will make contact if you are pressing it into the plate. But you have to make sure that the way the bar contacts doesn’t twist your plate either! Just a few things to worry about. There’s probably only like a million other things too.

I glued up the bar yesterday and snapped some photos.

bass bar rendering tutorial - take a picture like it's a perspective

Those clamps. That bar. Those little cleats. The straight grain accentuating the topography of the spruce. All this inevitably leads me into….

Architecture RE:lapse

Did you know that I was once a great master of Photoshopping horribly underdeveloped models into magical architectural wonderlands? I exaggerate only as much as an architectural rendering does. People ask me how I do it. The methodology is very very simple, but making a good rendering requires some pretty well-developed eye judgment. Kind of like violins… That said, let’s take the above photo and make a rather ridiculous rendering lacking in good judgment.

1. Get you a nice sky

bass bar rendering tutorial - add sky

2. Add some green stuff

bass bar rendering tutorial - add green stuff

3. Busy things up with scalies and texture

bass bar rendering tutorial - add people and some random lines to make it more building-y

4. Fluff it up with some filters and highlights

bass bar rendering tutorial - fluff it up with some filters and fix it with shading!!!

Other notes: I am a heavy user of Multiply, masks, brush and pattern presets, and Flickr. I am a very light user of layers. Keep that file light.

And remember, if anything’s looking off or ugly, or if something’s underdeveloped, or if you’re too lazy to solve some particular detail, you can always just FIX IT WITH SHADING!

Easy chicken coop accessories

There are some fancy schmancy chicken food & water dispensers out there, and they cost a lot of money. There are several different designs out there, but the main ideas behind the good dispensers are all the same:
1. They only put out a little bit of food or water at a time, so the goods stay cleaner, and there is less waste.
2. They hold a lot of food & water so you don’t have to change or refill often. They keep feed clean and dry and protected from unwanted critters and creatures.
3. They are easy to refill when you need to.
4. They are hard to tip over, minimizing waste.

Gravity Feeder

We made a gravity feeder for Maxine’s chicken tractor, and have it hanging underneath the roost so it won’t get super poo-ed. Food is stored in a piece of gutter from Home Depot (less than $3) and a plastic container that held mushrooms from the grocery store.

gravity feeder

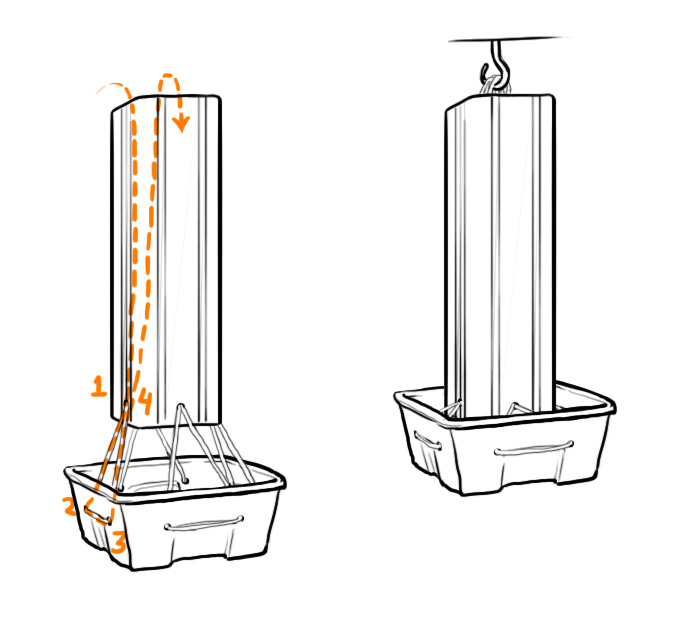
We poked one hole towards the lower end of each gutter face, and two holes in each face (except the bottom) of the mushroom container. Then we strung a string through as shown above to attach the containers together. Then we filled it with feed.

gravity feeder

The chickens eat from the bottom, and the weight of the feed pushes more into the bottom for the chicken to eat.

I think this one passes the first three criteria above. If your chickens peck viciously, the bottom tray does tilt a little. Perhaps in version 2.0, we would tie knots to keep the string from sliding around and rearranging the hanging angle.

Waterer

chicken waterer

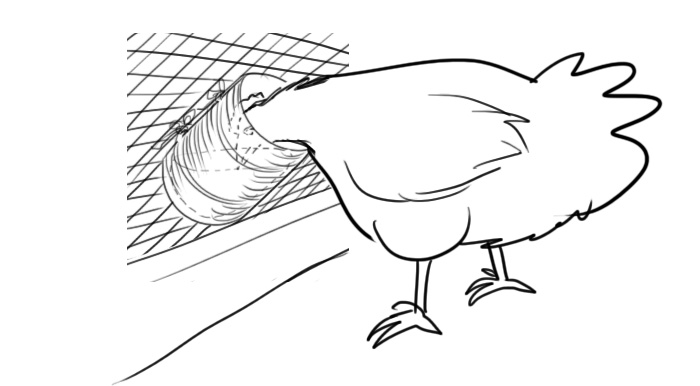
This is very low-tech but pretty effective. All it is is a ribbed tin can tied to the hardware cloth. Refilling is easy (just pour water through the hardware cloth and down into the can). Since it is mounted to the angled part of the hardware cloth, birds can’t sit right on top and poo down into it. It doesn’t hold tons of water, but I think it’s better to be changing water often anyway. And you can install several according to how frequently you want to refill it. So, this system passes criteria #1, 3, and 4.

Roost

simple way to mount a roost to mesh

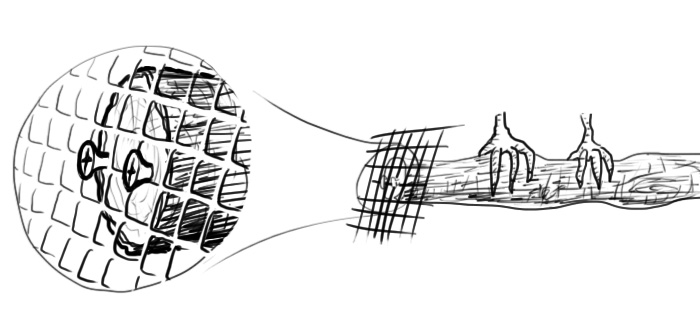
These big branches are nice for the birds to hang out on in the run area. But how to attach? Credit goes to my sister for this very simple mounting technique. Drive two screws into the end grain. Lift the stick into the A-frame section and it will grab onto some of the hardware cloth.
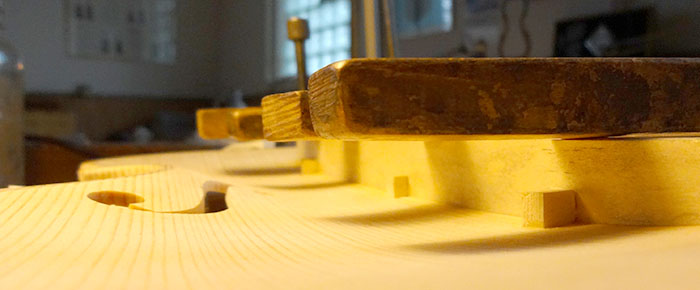