More pictures & process of making the inlaid tea tray. Check previous post for the rest.
STEP ONE: Join 3 pieces!

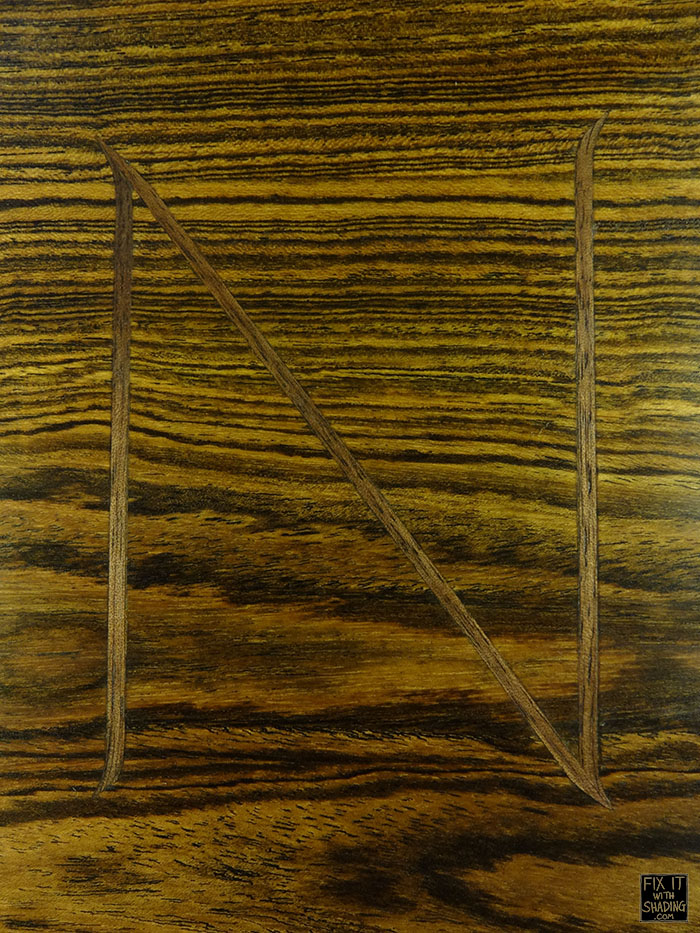
STEP TWO: Plane it down til the boards are flat enough to lay out your design. Cut it out with a knife & ruler!

STEP THREE: Pick it out with a purfling pick! No routers or dremels if you want to be hardcore.

STEP FOUR: Bend some walnut strips on the steaming iron so you can get those little tails to work! Trim, fit, and glue!
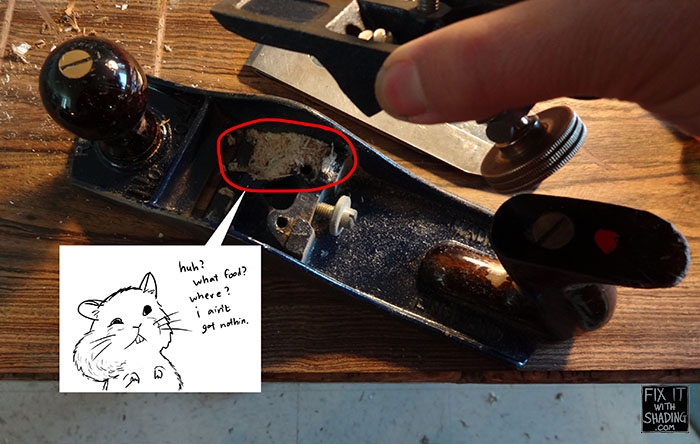
STEP FIVE: Plane it flat! Why is my plane clogging and not working well? Maybe because it is hoarding shavings for the winter!
STEP SEVEN: Cut out all the rest of the pieces, shape, rasp, file, scrape, and sand!

STEP EIGHT: Assemble!

Oh yeah, why did I make a tea tray, you ask? Originally, Nora asked me to make a sign to put next to the guestbook.
I got carried away.
But it is still a sign! The legs are cut at an angle to keep the tray’s center of mass where it needs to be to stand up like a sign.

Nora & Kevin : Sign has been sealed and delivered, it’s yours. Yall’s. Whatever. Happy Marriage!

