Look what I made!

Wedding Gift for Nora & Kevin

tea tray wedding gift for nora and kevin

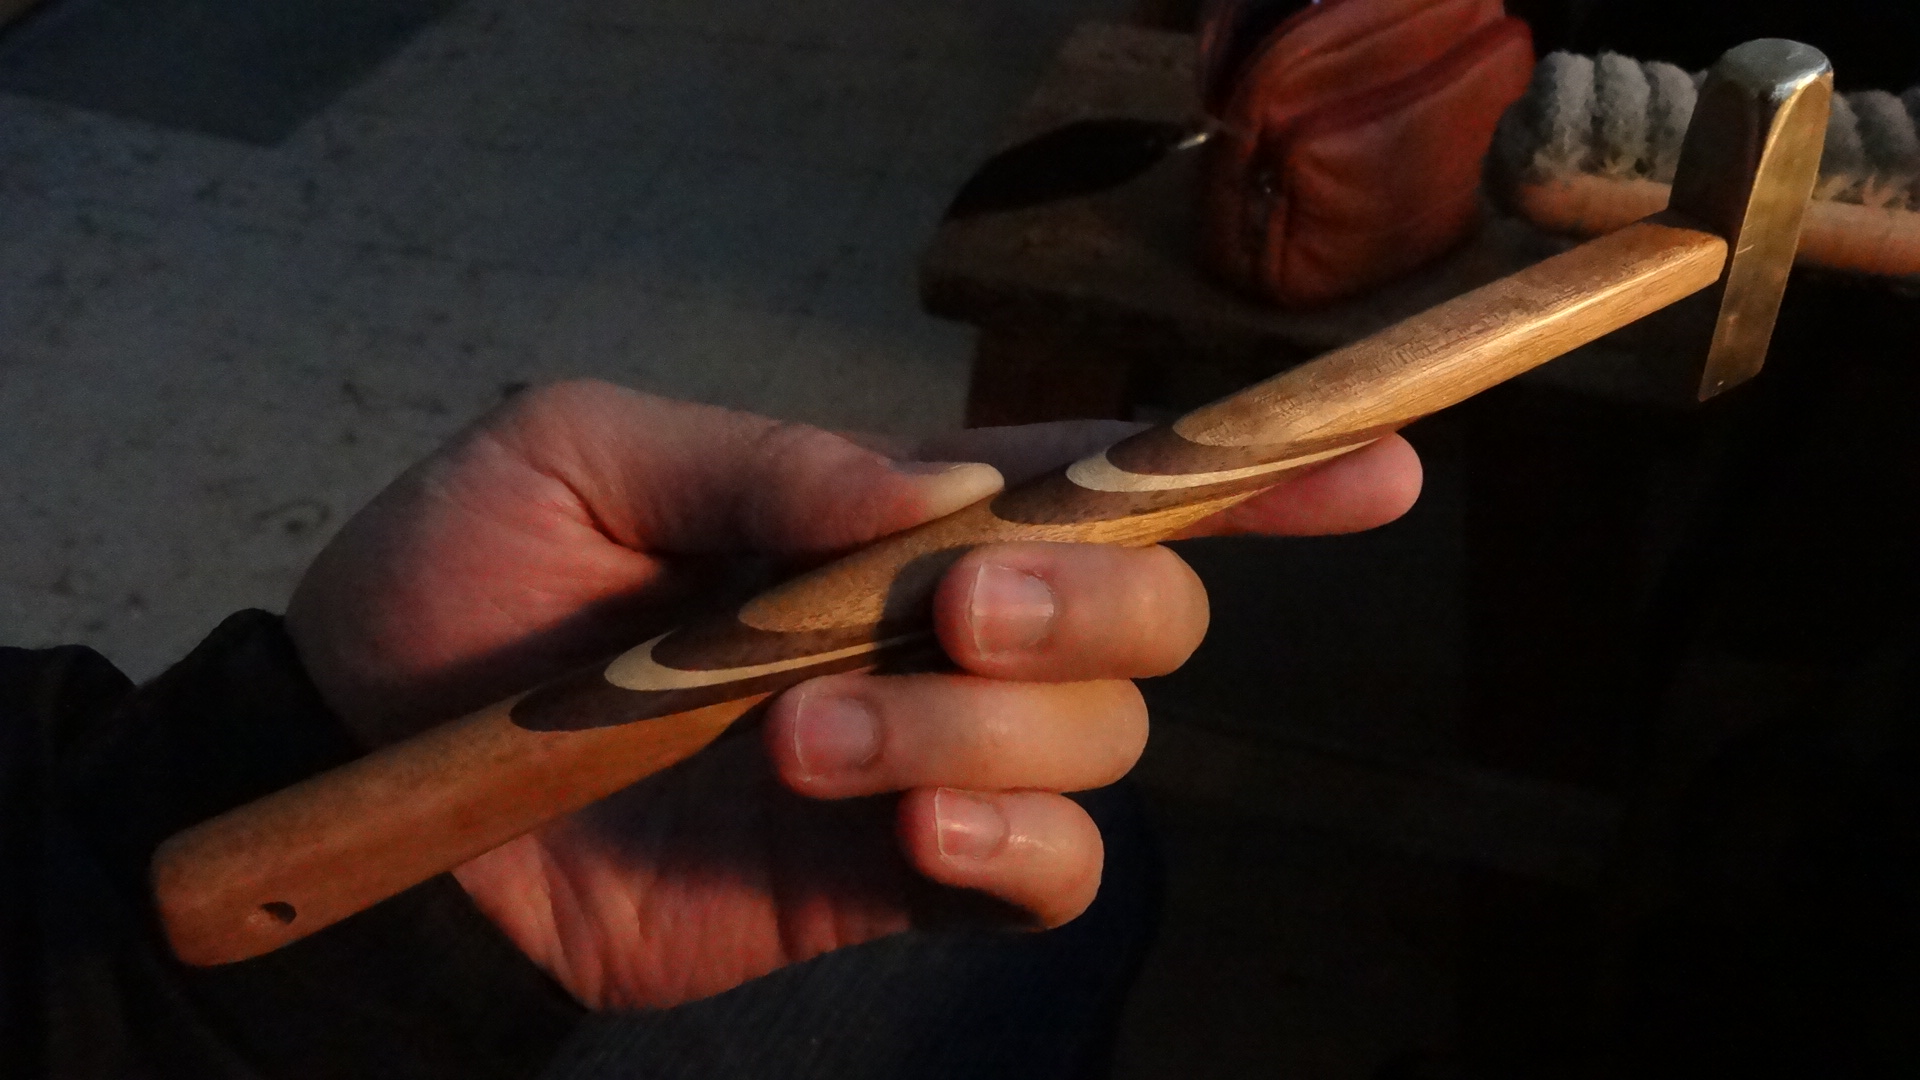
My dear friend got married and I presented the couple an offering of tray-shaped wood. The tray is Bocote (which smells exactly like pickles when planed), the trim and legs are Goncalo Alves, and the inlaid letters are strips of walnut. Here’s what I learned from this project.

tea tray assembly axo

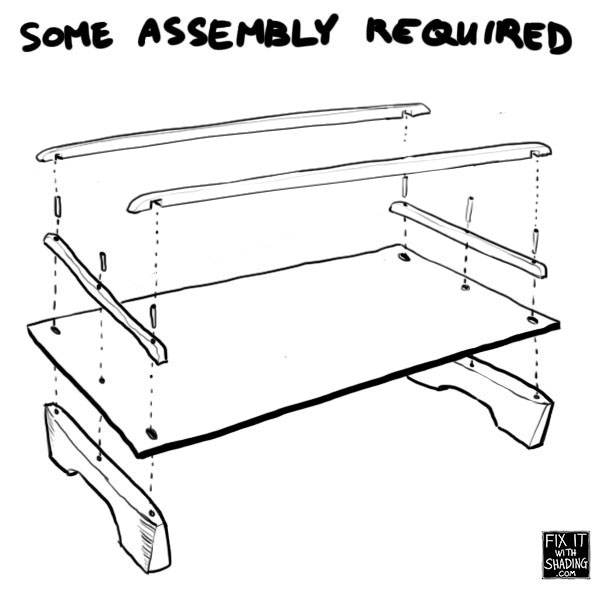
I made this up as I went, changing the plan five times a day. This is usually not recommended, but in the end, the schematics happened to work out beautifully. I have recently been obsessing over how to fasten tabletops to table aprons and how to handle joinery between boards with different grain orientation. The issue:

wood shrinkage and expansion across grain is greater than with grain

Wood happily expands and contracts (shut up, Omobono) with humidity and temperature. But it doesn’t shrink uniformly across all three dimensions. The biggest dimensional variation is ACROSS the rings of the tree, and the most stable dimension is along the length of the wood grain. The tea tray by nature is already subject to temp & moisture fluctuations – it might get washed, hot liquids might spill on it, it might live in Houston…. we must not let poor choice of joinery be another reason for warp:

expansion and contraction on wooden boards

Note: the downside of slot & pin is the ends of the crossing piece may not stay flush to the edge of the board. In the case of this tea tray, it is not functionally crucial that they stay flush. A cupped tray would be far worse. So basically, the board is sandwiched but can move freely between the differently-oriented legs and trim, and that trim piece is further held down in this sort of lap joint thing:

tea tray wedding gift joint detail

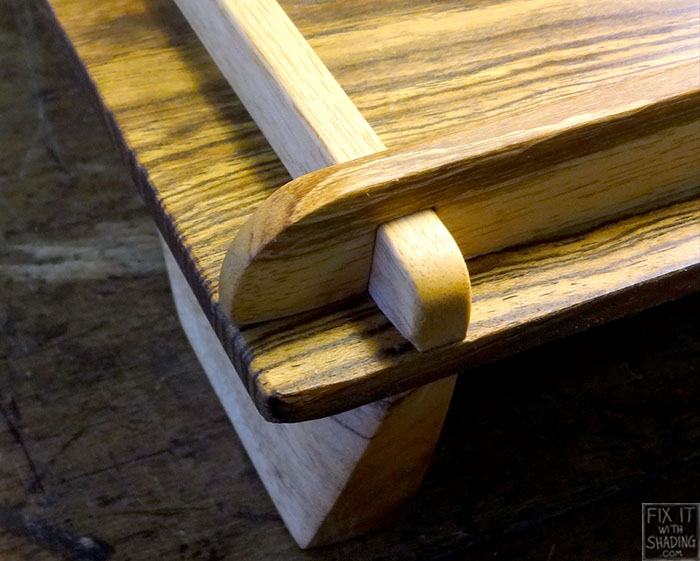
So, hopefully this will make sense now:

tea tray assembly axo - glue joints tea tray assembly axo - do not glue zones

More tray stuff to come on Wednesday!

Please feel free to comment if you’d like to elaborate on this wood expansion/contraction topic, pick on the design of this tray, commission something from me (yes! come on, pleeease 🙂 ?), or whatever!

hammer time

brass hammer!

I made a brass hammer!

It is mystery cherry + walnut + maple, made out of leftover slivers of wood from my knife handles. Rounding the stick gives it the saturn rings.

By now, surely you want one too! Well here, I generously offer you instructions on making your own from the Great Violinmaking Notebook of MJ. Steps for laminating your own peanut butter cup racing stripes not included.

hammer-making instructions

Normal people would use a stick of some nice hard wood that won’t break as you’re banging the hammer around. Abnormal people like me will add several steps of laminating little thin pieces of wood to achieve chocolate stripes. The length of the handle will depend on your hammer head. For my little ~1 cm hammer head, I suggest a handle around 20 cm long.

Score the stick to prevent tearout as you shape the end into a cylinder. The score line should be where the hammer head will sit.

Shape the end into a cylinder to fit the opening of the brass hammer head. Shave corners off up to the score line, alternating between scoring and removing material.

Stop when the shaped end can fit through the narrowest opening in the hammer head (my hammer head had a tapered hole drilled into it).

hammer-making instructions

Shape the handle. I did not want mine completely round, but I wanted it round enough to make the cool effect with the rings. The result was flat ends blending with a round middle.

Saw the cylinder in half.

Make a wedge. It should be wide enough to make up the difference between the two ends of the hammer head’s tapered opening.

hammer-making instructions, part 3
Mix epoxy. Even if you made a very snug joint, as long is it’s a cylinder, the hammer head will eventually want to spin on the handle. So we must fix it in place with epoxy.

Put epoxy in brass hammerhead hole.

Insert stick, clean off goopy mess. It should have squeezed some goo out.

Insert the wedge to pry the two halves of the cylinder apart, causing it to fill up the bigger end of the tapered hole.

Let it set for however long your epoxy’s instructions tell you it should sit for.

Final step: HAMMER EVERYTHING!!!